Give Your Short Film a Cinematic Edge with Green Screen Technology
For decades, cutting-edge visual effects were the sole purview of the major film studios that could afford the technology. Now, with more consumer access to digital tools than ever before, even the most micro-budget productions can create gripping cinematic experiences. By taking advantage of green screen technology, you can easily raise your production to a professional quality. The secret is knowing what it is, what it can do, and how to use it.
The Basics of Green Screen Technology
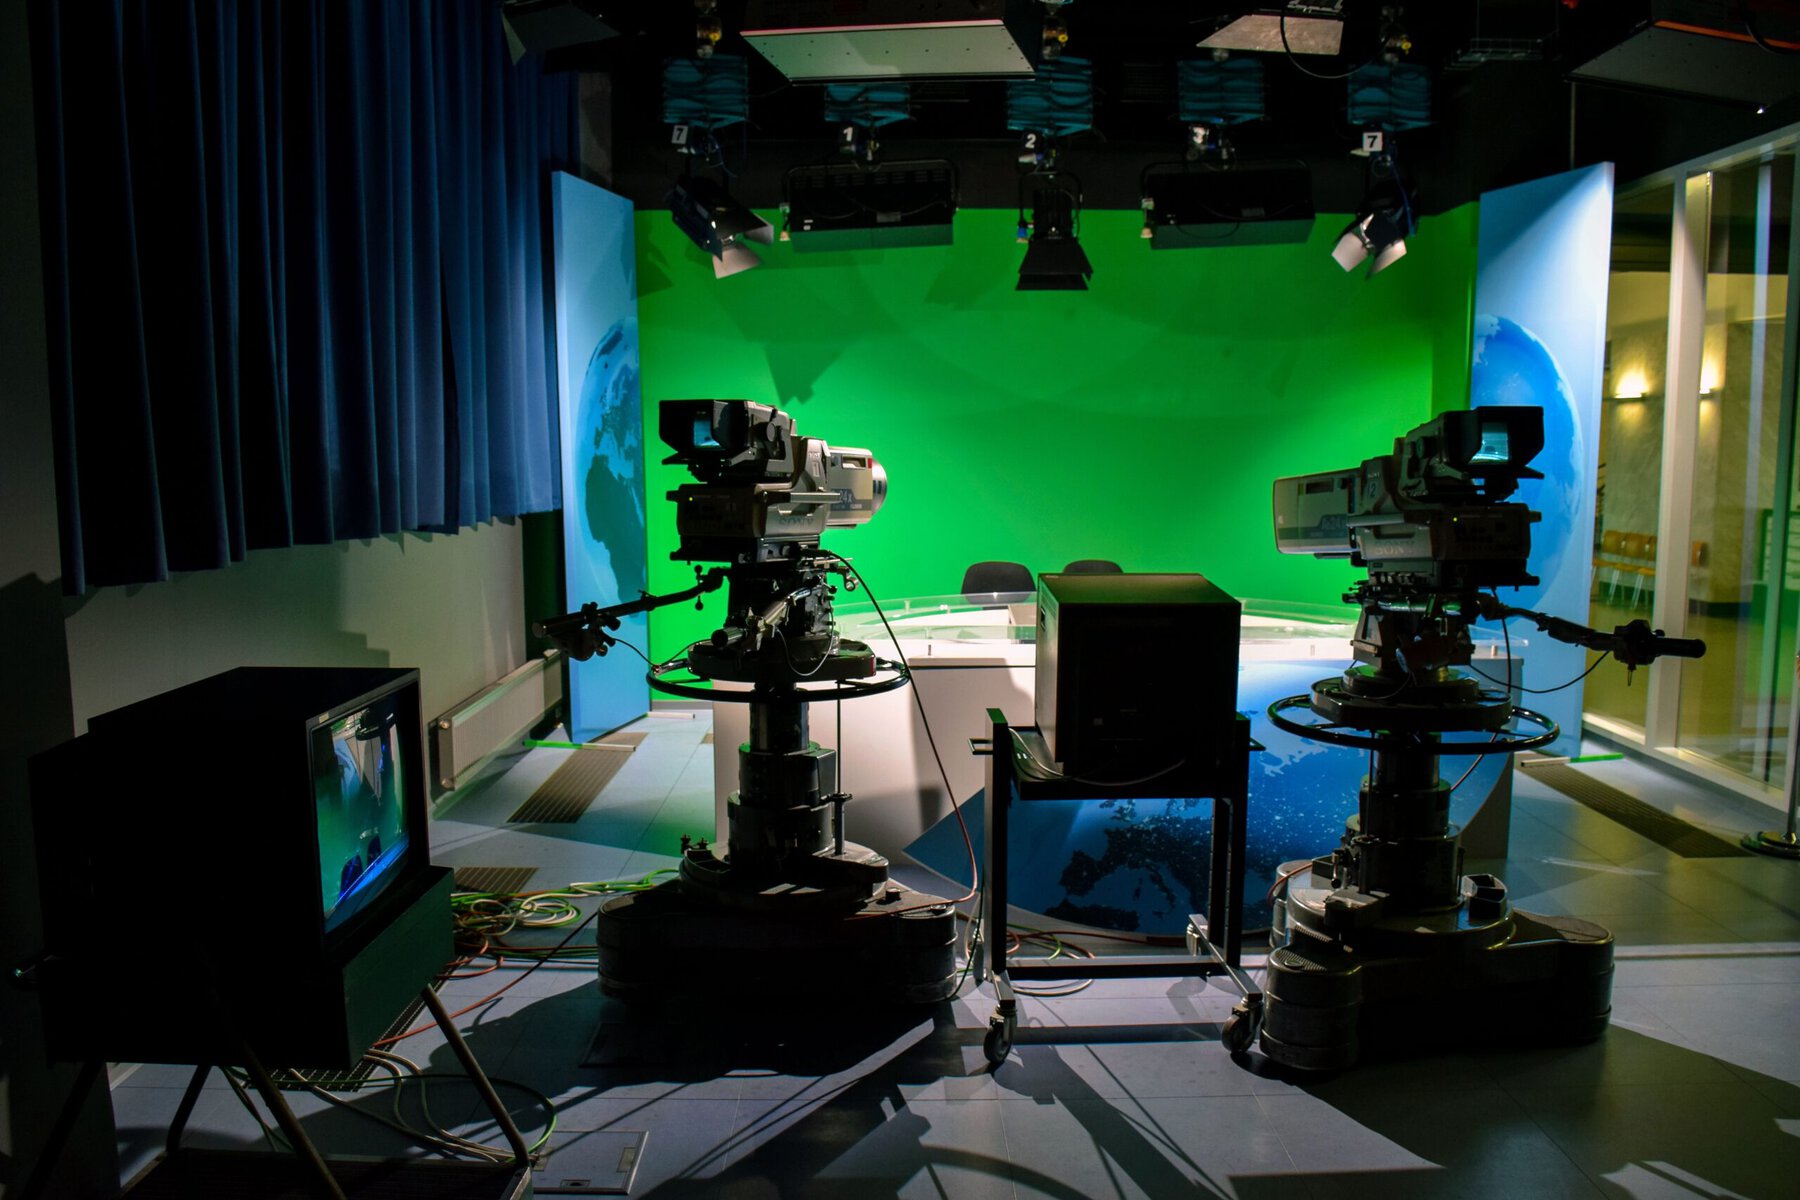
Green screen technology, or chroma key, as it is technically known, is a visual effect technique that utilizes post-production software to replace a solid-colored background from raw video footage with another visual. Bright green is often used, as it provides great contrast compared to the human actors. Although any solid color can be used as long as it can be clearly separated from your subject.
By filming in front of a solid-colored background, filmmakers can use video editing software to isolate the specific color and remove it. From there, it’s a simple matter to replace the background with a still image, graphic, another video, or whatever the project might call for.
How It Is Used in Film
Green screen technology has been used extensively throughout the industry for decades. On the commercial side of things, it’s frequently used in ads or internal company videos. Most often, you’ll see this in situations where infographics, product demos, or pricing information appears behind a spokesperson speaking to the camera. This allows the video to maintain a human connection with the audience while continuing to relay crucial information.
When it comes to more creative projects, green screen opens up a whole world of possibilities. Filmmakers can shoot a scene with their cast in front of the green background, then place them wherever the story demands. Sometimes, this is a simple matter of extending a set beyond the area you’re filming in. Other times, this means replacing the entire world your actors are inhabiting.
Often, locations just aren’t feasible to film, whether that’s due to exorbitant cost or the fact that it’s hard to actually go to the location, such as traveling to outer space to film a sci-fi epic. In situations when the real thing is out of reach, green screen can do the job. Best of all, you don’t even have to leave the studio.
Green Screen Best Practices
Using green screen technology is pretty straightforward once you understand the basics, but it’s not foolproof. Here are a few things to keep in mind if and when you plan to make use of it:
Use the Right Backdrop
Chroma keying relies on having a clean, even background. Make sure you’re using something with a matte finish and without wrinkles, such as a painted cyclorama wall. This will help you avoid glare, reflections, and shadows, which could cause headaches in post.
Be Careful of Green in Wardrobe and Props
Once you know the color of your backdrop, check that nothing your actor is holding or wearing matches. If you don’t, your software might replace it as well. You want to remove your background, not your actor.
Light the Scene Evenly, and Match Your Background
Good lighting is essential to selling your viewer on the green screen background. Light the background evenly to ensure no shadows cause uneven keying. Use a three-point lighting system to give your subject definition, and keep them a few feet away from the background to avoid any of the color spilling onto them. Finally, match your lighting to what you’re going to put behind your actors. Consistency in light temperature and intensity makes the effect all the more convincing.
Putting It Together in Post
Once filming is done, it’s time to stitch everything together in post-production. If you haven’t already landed on your video editing software, there are a lot of options out there, but Adobe Premiere Pro and DaVinci Resolve are popular choices.
Key Your Footage
Find your chroma keying tools and select your green screen. The software will be able to detect each pixel with the selected color value and make it transparent. Once you’ve done this, you’ll be able to place an adjustable matte over the footage to separate your subject. Don’t worry if it doesn’t look perfect; there’s still room for you to adjust.
Clean Up the Edges
Even if you managed to keep your subject well isolated from the green screen, there can still be a bit of artifacting and haziness around the edges. Take a look at your initial pass and adjust settings until you feel like you have a reasonable amount of definition between your actor and the matte. These tools vary by software, so do a bit of research to see what’s available within your editor.
Drop in Your Background and Blend the Footage
Once you have a nice, even matte around your actor, you can import the final backdrop. Ideally, your cast will have been lit to match what you’re putting them in front of, but it’s always hard to say until you marry both shots in the editor. If it doesn’t look quite right, do a bit of color correction, and see if you can’t make the actors and background fit together better
Elevating Your Next Short
Green screen technology is one of the most cost-effective ways to raise your production value. If you really want to make the most of it, it’s often best utilized in a purpose-built studio environment. Studios like Lightz Out Studios are built with the intention of giving filmmakers everything they need to fully execute their vision. Even if you don’t use a studio, a working knowledge of green screen technology can help you achieve seamless, professional-quality results. All it takes is a bit of planning and some careful work, and you can save big on your location budget.